플러터
appbar - 기본 본문
개요
appbar 의 기본 사용 방법을 알아보고자 한다.
일반적으로 overflow 메뉴라고도 하며 ( 고정되어 최 상단에 표현되기 때문 ) 보통 제목 우측에 actions 영역에 버튼을 배치하여 ( IconsButton ) 사용하기도 합니다.
구성
편의상으로 1구역, 2구역으로 표기, stack [ Widget(1구역), Widget(2구역) ] 이런 느낌으로 위젯이 만들어 짐
- (2구역) 크게 leading / title / actions 로 구성되어져 있다.
- (1구역) flexibleSpace 는 stack으로 하단부에 배치가 된다. ( 1구역 위에 2구역 배치, 보통은 잘 안씀 )
- (2구역) bottom 은 아래와 같이 바닥에 위치

중요 속성값
actions :이 속성은 AppBar가 행인 경우 제목 뒤에 표시 할 매개 변수로 위젯 목록을받습니다.
title :이 속성은 일반적으로 기본 위젯을 AppBar에 표시 할 매개 변수로 사용합니다.
backgroundColor :이 속성은 Appbar의 배경에 색상을 추가하는 데 사용됩니다.
elevation (고도) :이 속성은 부모를 기준으로이 앱 바를 배치 할 z 좌표를 설정하는 데 사용됩니다.
shape :이 속성은 Appbar에 모양을 부여하고 그림자를 관리하는 데 사용됩니다.
코드
기본 화면을 표현하기 위한 최소 단위로 구성
import 'package:flutter/material.dart';

/// WAppbar02
/// title : appbar 기본

class WAppbar02 extends StatelessWidget {
  const WAppbar02({Key? key}) : super(key: key);

  final String title = 'WAppbar02';

  @override
  Widget build(BuildContext context) {
    return MaterialApp(
      debugShowCheckedModeBanner: false,
      title: title,
      home: Scaffold(
        appBar: AppBar(
          leading: Text('leading'),
          bottom: PreferredSize(
            child: Text('bottom'),
            preferredSize: Size(10, 10),
          ),
          title: Text('title'),
          actions: [
            Text('ac1'),
            Text('ac2'),
          ],
          flexibleSpace: Text('flexibleSpace'),
        ),
      ),
    );
  }
}
스크린샷

투명색상 적용
배경 색상을 투명색인 Color(0x00FFFFFF) 또는 Colors.transparent 를 사용하면 된다.
만약 바닥에 배경화면을 설정하고 Appbar 영역을 투명하게 표현하고자 하는 경우에는 extendBodyBehindAppBar: true 를 사용하여 영역을 확장하여 적용하기 바랍니다. ( scaffold 의 경우 )
import 'package:flutter/material.dart';

/// WAppbar04
/// title : WAppbar03을 기반으로 배경이미지 추가
/// desc :
/// - extendBodyBehindAppBar 에 유의
/// - 투명색 - Colors.transparent 또는 Color(0x00ffffff)

class WAppbar04 extends StatelessWidget {
  const WAppbar04({Key? key}) : super(key: key);

  final String title = 'WAppbar04';

  @override
  Widget build(BuildContext context) {
    TextStyle style = TextStyle(color: Color(0xff000000));

    return MaterialApp(
      debugShowCheckedModeBanner: false,
      title: title,
      home: Scaffold(
        extendBodyBehindAppBar: true,
        backgroundColor: Colors.transparent,
        body: Container(
          decoration: BoxDecoration(
            image: DecorationImage(
              image: AssetImage("assets/images/bg_s10.png"),
              fit: BoxFit.cover,
            ),
          ),
          child: null /* add child content here */,
        ),
        appBar: AppBar(
          backgroundColor: Color(0x00ffffff),
          elevation: 0.0,
          leading: Text(
            'leading',
            style: style,
          ),
          bottom: PreferredSize(
            child: Text(
              'bottom',
              style: style,
            ),
            preferredSize: Size(10, 10),
          ),
          title: Text(
            'title',
            style: style,
          ),
          actions: [
            Text(
              'ac1',
              style: style,
            ),
            Text(
              'ac2',
              style: style,
            ),
          ],
          flexibleSpace: Text(
            'flexibleSpace',
            style: style,
          ),
        ),
      ),
    );
  }
}
스크린샷

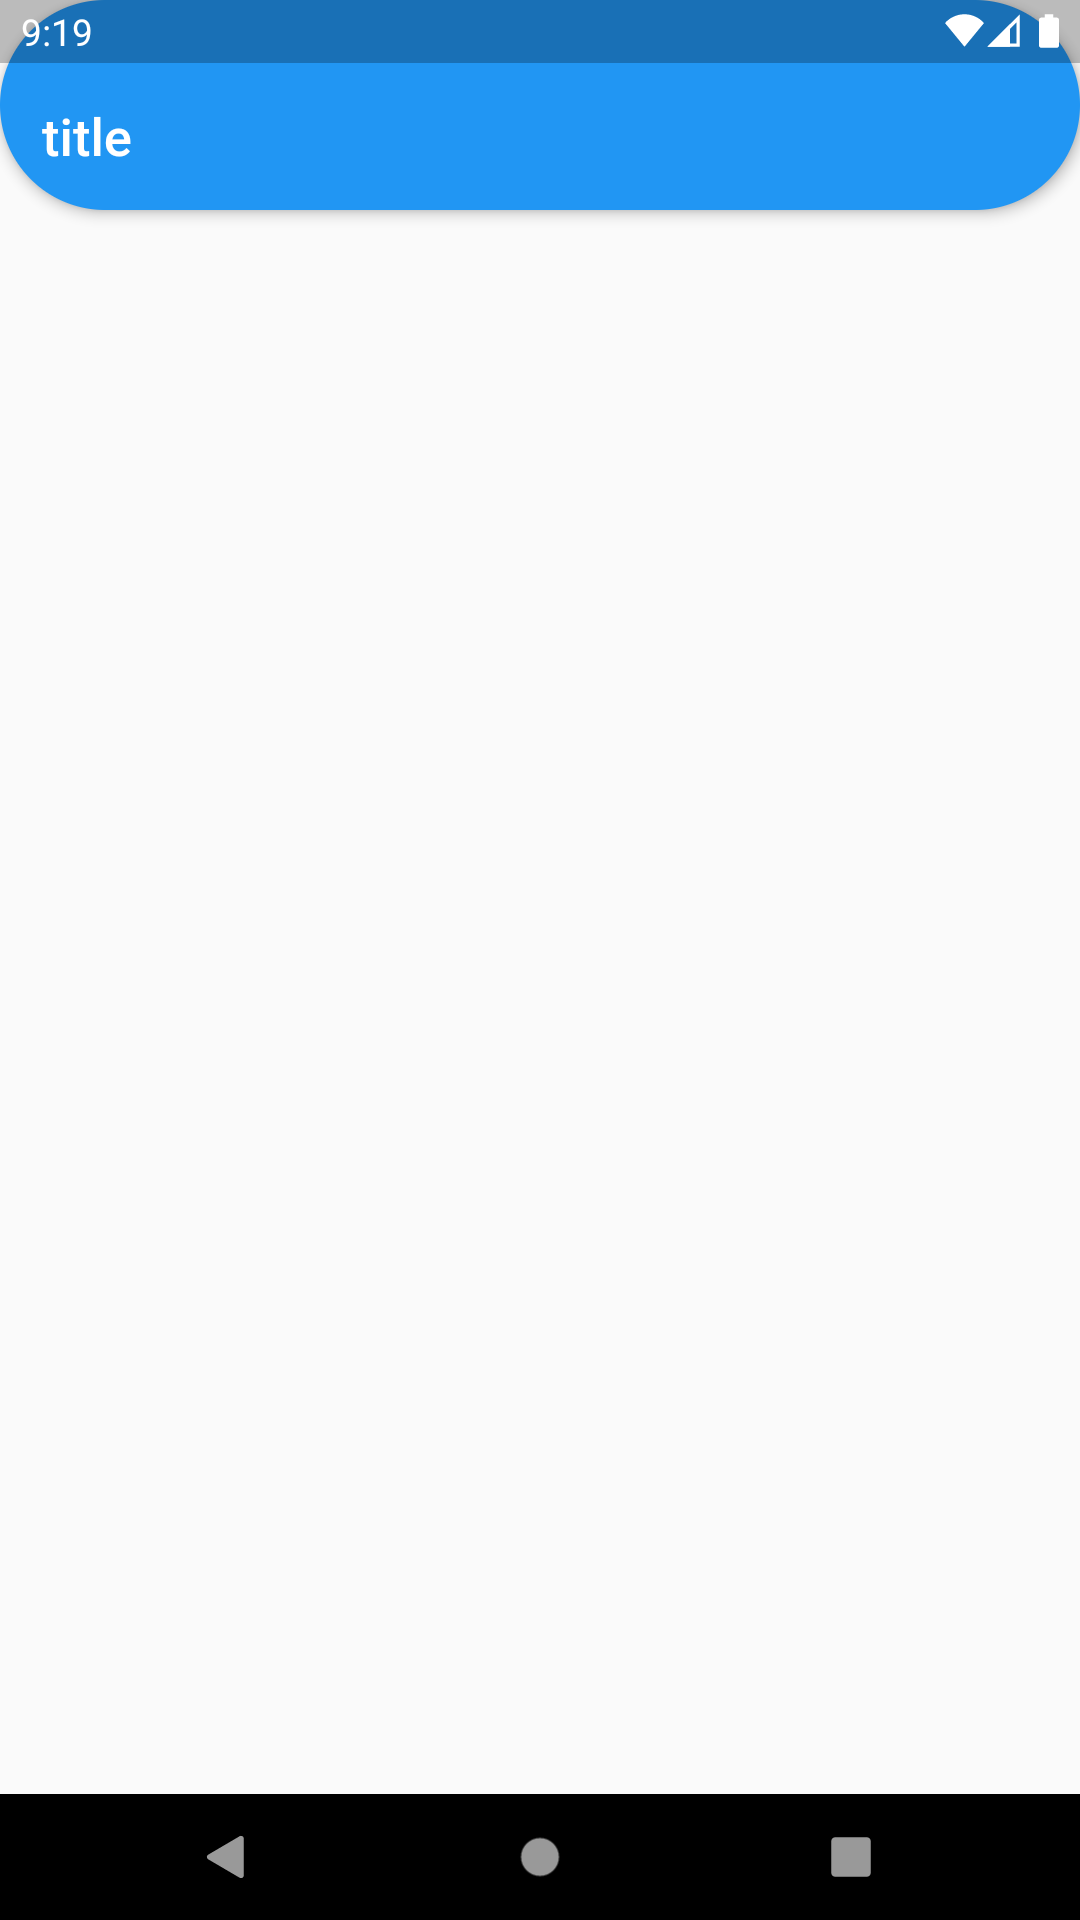
라운드 효과를 준 경우
코드
import 'package:flutter/material.dart';

/// WAppbar05
/// title : 글자 라운드 효과

class WAppbar05 extends StatelessWidget {
  const WAppbar05({Key? key}) : super(key: key);

  final String title = 'WAppbar05';

  @override
  Widget build(BuildContext context) {
    return MaterialApp(
      debugShowCheckedModeBanner: false,
      title: title,
      home: Scaffold(
        appBar: AppBar(
          title: Text('title'),
          shape: RoundedRectangleBorder(
            borderRadius: BorderRadius.circular(360),
          ),
        ),
      ),
    );
  }
}
스크린샷